Before you can build anything with an AI coding tool, you need a place to build it. Right now, your computer is like an empty room. It has walls and a floor, but no workbench, no tools, and no assistant. Setting up your development environment turns that empty room into a fully equipped workshop.
This takes about forty-five minutes. By the end, you will have everything installed and ready for your first real vibe coding session. No prior technical experience required.
The Workshop Analogy That Makes This Click
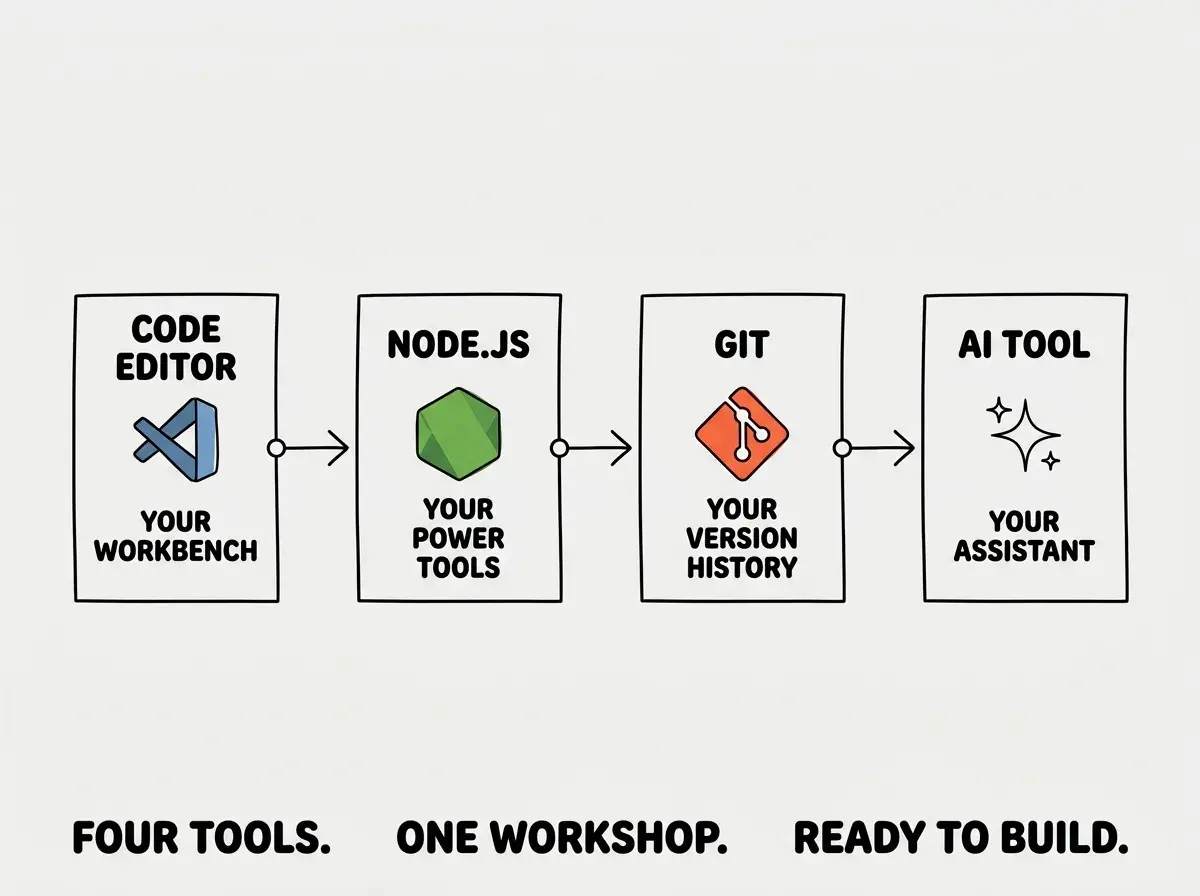
Think of your development environment as a woodworking workshop. Every workshop needs four things.
A workbench is where all the work happens. You lay out materials, arrange pieces, and see everything in one place. This is your code editor, the application where you write, edit, and organize the files that make up your app.
Power tools do the heavy lifting. A table saw, a drill press, a router. In your development environment, Node.js and Git fill this role. Node.js runs your code and manages building blocks. Git tracks every change so you can always undo mistakes.
An assistant works alongside you. You describe what you want to build, they help cut the pieces and assemble them. This is your AI coding tool, whether that is Cursor, GitHub Copilot, or Claude Code.
The workshop itself ties everything together. A workbench is useless without power tools. Power tools are useless without an assistant. None of it works without the space that connects them all. Your development environment is that space.
We are going to set up each piece in the order that makes the most sense.
Step 1, Install Your Code Editor (The Workbench)
Your code editor is where you will spend most of your time. It is where files live, where you type prompts, and where you see the results of what your AI builds.
The recommended choice is VS Code (Visual Studio Code). It is free, works on Mac, Windows, and Linux, and it is what the vast majority of vibe coders use. AI tools integrate with it, tutorials assume you have it, and extensions for every need are available. Go to code.visualstudio.com, download the installer for your operating system, and run it.
The alternative is Cursor, which is VS Code with AI built directly in. If you already know you want Cursor as your AI tool, install it instead. Go to cursor.com and follow the same process. Cursor looks and works almost identically to VS Code because it is built on the same foundation.
Once installed, open the editor. You should see a welcome tab and a sidebar on the left. That is your workbench, ready to go.
Step 2, Install Node.js (The Power Tool)
Node.js is the engine that runs JavaScript, the language powering most modern web apps. Even if you never write JavaScript yourself (your AI assistant handles that), Node.js needs to be on your machine because it processes code, manages packages, and runs your app locally so you can see it working.
Think of Node.js as the table saw in your workshop. You might never operate it by hand. Your assistant does that. But the workshop cannot function without it bolted to the floor.
Go to nodejs.org and choose the download labeled "LTS" (Long Term Support). This is the stable, well-tested version. Run the installer and accept the default settings throughout. It also installs npm (Node Package Manager) automatically, which is the system your projects use to download pre-built code libraries.
To verify, open the Terminal panel in your code editor (press Ctrl+backtick on Windows or Cmd+backtick on Mac if you do not see it). Type node --version and press enter. You should see a version number like v22.x.x. Then type npm --version for another version number. If both show numbers, Node.js is working.
You do not need to understand what Node.js does under the hood. You need it installed because every AI coding tool, every tutorial, and every web project assumes it is there. Think of it like electricity in a workshop. You do not need to understand wiring to flip the switch. But without it, nothing in the shop turns on.
Step 3, Install Git (The Safety Net)
Git is version control. It tracks every change to your project and lets you go back to any previous version at any time. If your AI assistant breaks something (and it will, eventually), Git lets you undo the damage in seconds.
In the workshop analogy, Git is like photographing your project at every stage of construction. If you accidentally cut a board too short, you look at the photos, see how things were before the mistake, and rebuild from that point.
On Mac, type git --version in your terminal. Mac often has Git pre-installed. If you see a version number, you are done. If it prompts you to install developer tools, click "Install" and wait a few minutes.
On Windows, go to git-scm.com, download the installer, and run it. Leave every option at its default. After installation, type git --version in your terminal to confirm.
Now set up your identity. Git stamps every change with a name and email. Type these two commands, replacing the placeholder text with your actual information:
git config --global user.name "Your Name"
git config --global user.email "your@email.com"
You do not need to learn Git commands right now. Your code editor has buttons for the common actions, and your AI assistant can help with anything more advanced.
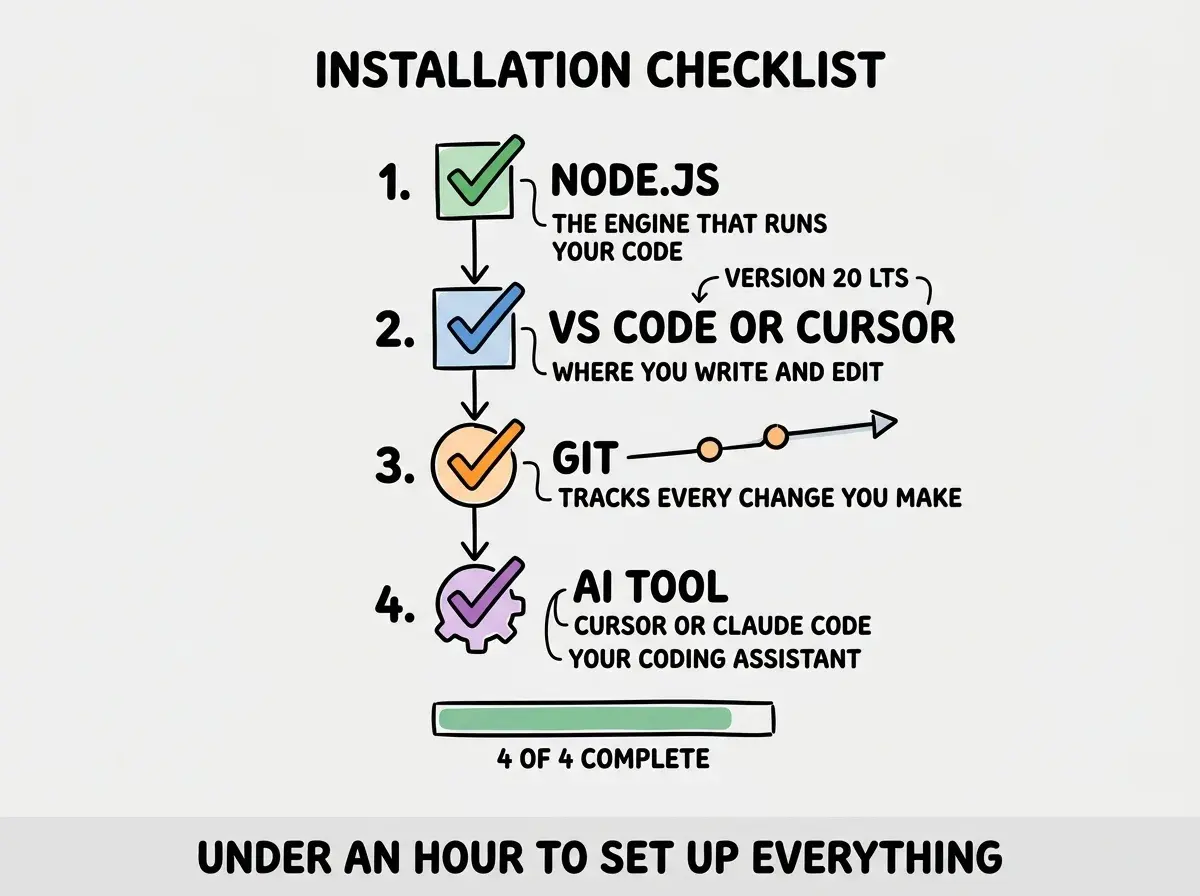
Step 4, Install Your AI Coding Assistant (The Helper)
This is the piece that turns a standard development setup into a vibe coding workshop. Your AI assistant writes code based on your descriptions, fixes bugs when you point them out, and handles the technical details you do not want to learn yet. The right choice depends on what you installed in Step 1.
If you installed Cursor, you already have an AI assistant built in. Open Cursor, click the chat panel on the right side, and start typing. No additional setup needed.
If you installed VS Code and want GitHub Copilot, click the Extensions icon in the sidebar (it looks like four small squares), search for "GitHub Copilot," and click Install. You will need a free GitHub account from github.com.
If you want Claude Code (Anthropic's command-line AI tool), open your terminal and type npm install -g @anthropic-ai/claude-code. Then type claude to start it. You will need an Anthropic API key or a Claude subscription.
Any of these works. The important thing is having one AI assistant connected and responding before you move on.
Compare the major vibe coding tools to find the right match for how you work.
Compare toolsStep 5, Verify Everything Works Together
Now make sure the full workshop functions as a connected unit. Open your code editor and its terminal. Run node --version and git --version to confirm both tools are accessible. If either command fails, close and reopen the editor. It sometimes needs a restart to recognize newly installed tools.
Create a test project by typing mkdir my-first-project, then cd my-first-project, then npm init -y. You should see a message confirming that a package.json file was created. Open that folder in your editor (File, then Open Folder) and you should see the package.json in the sidebar.
Finally, test your AI assistant. If you are using Cursor, open the chat panel and type "Create a simple index.html file that says Hello World." If you are using Copilot, create a new file called index.html and watch for AI suggestions. If you are using Claude Code, type claude in the terminal and give it the same instruction.
If your AI responds and generates something, your workshop is fully operational.
Skipping the verification step and jumping straight into a real project. When something breaks during an actual build, you will not know whether the problem is your code, your prompt, or a tool that was never installed correctly. Spending five minutes confirming everything works now saves you an hour of confused debugging later. Always test the workshop before starting the first real project.
What to Do If Something Goes Wrong
Installation rarely goes perfectly on the first try. Here are the most common problems.
"command not found" when running node or git. Close your terminal and code editor completely, then reopen both. If that does not work, restart your computer. The installer sometimes needs a fresh session to register properly.
Permission errors on Mac. Prefix the command with sudo (administrator privileges). For example, sudo npm install -g @anthropic-ai/claude-code. It will ask for your Mac password.
Your AI tool does not respond. Make sure you are signed in. Cursor requires a Cursor account, Copilot requires a GitHub account, and Claude Code requires an API key or subscription.
If you hit a problem not listed here, describe it to any AI chatbot and paste the exact error message. These tools are excellent at diagnosing installation issues.
What This Means For You
Your development environment is the foundation everything else builds on. Getting it right once means you never have to think about it again.
- If you are a founder building a product: You just eliminated one of the biggest barriers between your idea and a working prototype. Every hour you spend vibe coding from here happens in a properly configured environment, which means fewer mysterious errors and faster iteration. If you hire a developer later, they will appreciate inheriting a project that started with the right tools.
- If you are a career changer learning new skills: You now have the same development setup that professional developers use. When job listings mention "experience with VS Code, Git, and Node.js," you can honestly say you have used all three. The tools are installed. The learning starts now.
- If you are a marketer exploring vibe coding: You do not need to understand every tool deeply. You need them installed so the AI assistant can do its job. Think of this the way you think about installing Figma or Photoshop. You needed the software before you could start designing. Same principle, different tools.
Your workshop is set up. Follow a guided tutorial to create your first working project.
Start building