You just found something wrong. Maybe a user reported strange behavior. Maybe your database has entries you did not create. Maybe your cloud bill spiked overnight. Security incident response is the process of figuring out what happened, stopping it, and making sure it does not happen again. With 92% of developers now using AI tools daily and research showing 45% of AI-generated code contains vulnerabilities, getting hacked is not a matter of if. It is when.
This is your emergency playbook. Bookmark it. Print it out. Because when you are in the middle of a breach, you will not think clearly, and you need a checklist to follow.
Phase 1. Detect the Breach
Before you can respond, you need to confirm something actually happened. Panic is not a signal. Evidence is a signal. Here is what to look for and where to look.
Check your hosting dashboard for anomalies. Sudden traffic spikes, unusual geographic origins, or API calls at odd hours are all red flags. Vercel, Cloudflare, and Railway all surface this data in their dashboards. If your normal traffic is 500 requests per day and you are seeing 50,000, something is wrong.
Review your database for unauthorized entries. Open your database and look for user accounts you did not create, data modifications you did not make, or new admin-level records. AI-generated backends frequently lack proper authorization checks, meaning attackers can create accounts with elevated privileges through normal API endpoints.
Check your email for alerts. Cloud providers, payment processors, and domain registrars send automated warnings when they detect suspicious activity. GitHub sends you an email when a secret is detected in a public commit. Stripe sends alerts for unusual charge patterns. If you have been ignoring these notifications, now is the time to read every single one.
Look at your server logs. Search for repeated failed login attempts, requests to endpoints that should not exist (like /wp-admin on a non-WordPress site, which indicates automated scanning), and any 500 errors that started appearing at a specific time. The timestamp when errors started is your best estimate for when the breach began.
If you confirm suspicious activity, stop investigating and move immediately to containment. You can analyze later. Right now, you need to stop the bleeding.
Phase 2. Contain the Damage
Speed matters more than precision here. You are not trying to understand everything. You are trying to stop the attacker from doing more damage while you figure out what happened. Every minute the breach is active, the scope gets worse.
Rotate every API key and secret immediately. All of them. Your database credentials, your Stripe keys, your Supabase service role key, your JWT secret, any third-party API keys. Do not try to figure out which ones were compromised first. Rotate all of them and update your environment variables in your hosting platform. This is the single most important action you can take.
Revoke all active user sessions. If your application uses session-based authentication, invalidate every session in your session store. If you use JWTs, change the signing secret (which you already did in the previous step, so all existing tokens are now invalid). Yes, this logs out every legitimate user. That is acceptable. Forcing everyone to re-authenticate prevents an attacker who stole a session from continuing to use it.
Block suspicious IP addresses. If your logs show attack traffic from specific IPs, block them at the infrastructure level. Cloudflare, Vercel, and most hosting platforms let you add IP blocks through their dashboards. This is a temporary measure, not a permanent fix, since attackers can change IPs, but it buys you time.
Take the application offline if the breach is severe. If you see active data exfiltration, unauthorized financial transactions, or evidence that user data is being downloaded, put up a maintenance page and take the app offline. A few hours of downtime is infinitely better than continued data loss.
When you discover a breach, your first instinct will be to investigate. Resist it. Containment comes before analysis, every single time. Rotate all secrets, revoke all sessions, and block known attack vectors. Then investigate. The order matters because every minute you spend investigating before containing is a minute the attacker is still active.
Phase 3. Assess What Was Compromised
Now that the bleeding has stopped, you need to understand the scope. This determines what you need to fix, who you need to notify, and how long recovery will take.
Map the attack timeline. Using your logs, determine when the breach started and when it was contained. Look for the first suspicious request and work forward. This timeline tells you the window of exposure, which is every piece of data that was accessible during that period.
Identify which data was accessed. Check database query logs if available. Look at your application logs for which endpoints were hit. If the attacker accessed user records, you need to know exactly which fields were exposed. Names and emails are one category. Passwords, payment information, and personal documents are a much more serious category.
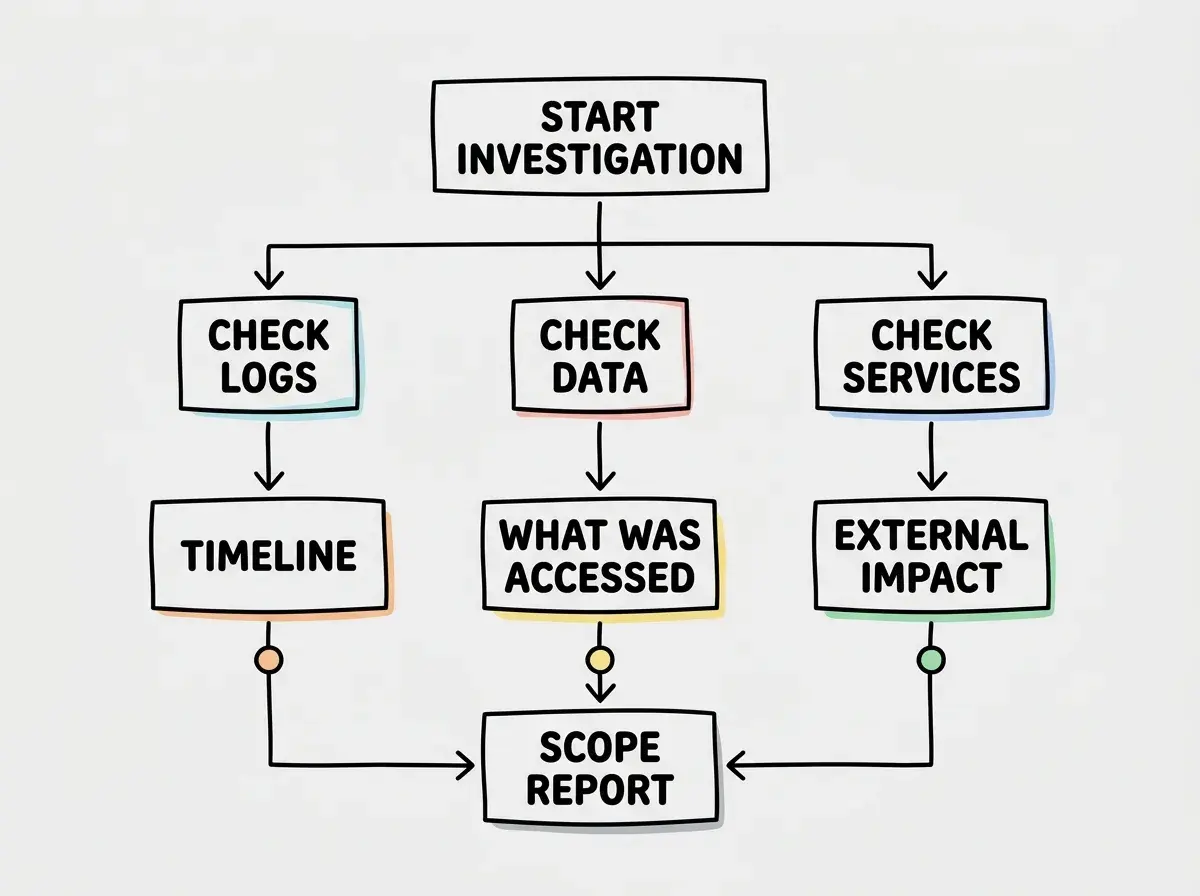
Check for backdoors. Attackers who gain access often create persistence mechanisms so they can return after you patch the original vulnerability. Look for new user accounts with admin privileges, new API keys that were not created by your team, modified files in your deployment, and new environment variables. If you use GitHub for deployments, check your recent commit history for anything you did not write.
Determine the entry point. How did they get in? The most common vectors for AI-built applications are exposed API keys in public repositories, missing authentication on API routes, SQL injection through unparameterized queries, and hardcoded admin credentials that the AI generated. Knowing the entry point is essential for the recovery phase because you need to close it.
Phase 4. Recover and Rebuild
With the scope understood, you can now fix the vulnerabilities and restore service. Do not rush this. A sloppy recovery leads to a second breach.
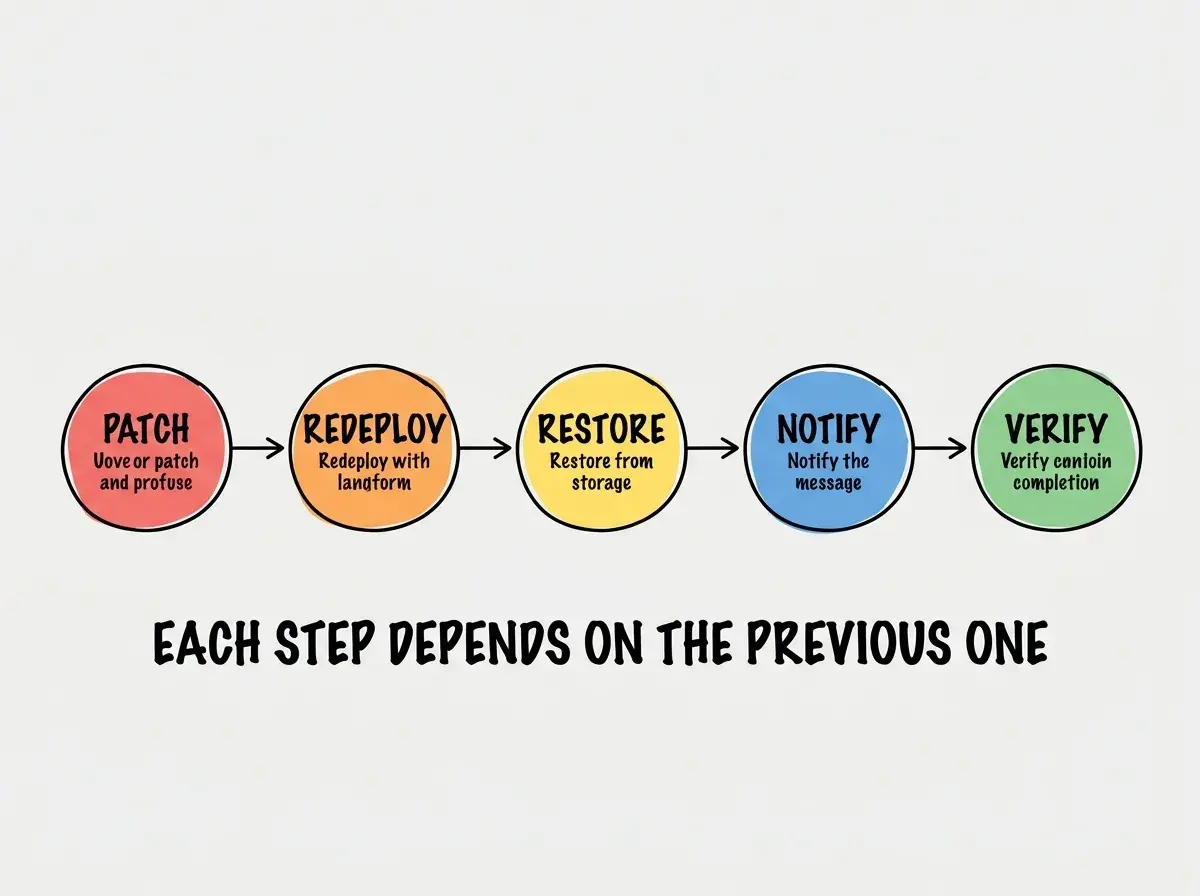
Patch the vulnerability that was exploited. If it was an exposed API key, ensure the new key is only in environment variables and never in code. If it was a missing auth check, add authentication middleware to every API route. If it was SQL injection, switch to parameterized queries throughout your codebase. Fix the root cause, not just the symptom.
Redeploy from a known-good state. If there is any chance your deployment was modified, do not patch in place. Deploy fresh from your Git repository after verifying the repository itself was not compromised. Check your recent Git history for commits you did not make.
Restore data if needed. If the attacker modified or deleted data, restore from your most recent backup that predates the breach. This is where those database backups you set up (you did set them up, right?) become invaluable. If you do not have backups, you are in a much harder situation that may involve reaching out to your database provider for recovery options.
Notify affected users. If user data was accessed, you have both an ethical and potentially legal obligation to notify them. Be direct and specific. Tell them what happened, what data was exposed, what you have done about it, and what they should do (change passwords, monitor accounts). Do not minimize it, do not use corporate euphemisms, and do not delay.
Start with the security fundamentals every vibe coder needs before their first incident.
Learn security basicsPhase 5. Learn and Prevent
The post-mortem is where you turn a disaster into a defense system. Every breach that does not lead to process changes is a wasted crisis.
Write a post-mortem document. Even if you are a solo builder writing it for yourself. Include: what happened, when it was detected, how it was contained, what data was affected, what the root cause was, and what you are changing to prevent it. This document forces clarity and becomes a reference when you build your next project.
Add the missing security layers. The breach revealed gaps. Fill them. Common additions after a first incident include rate limiting on all endpoints, input validation on every user-facing field, row-level security on database tables, automated secret scanning in your CI pipeline, and proper logging that captures enough detail to investigate future incidents.
Set up monitoring you did not have. If you discovered the breach through a user report or a surprise bill, your monitoring failed. Add uptime monitoring, error tracking (Sentry or similar), and anomaly alerts on your hosting platform. The goal is to detect the next attempt in minutes, not days.
Schedule a security review. Block two hours on your calendar, thirty days from now, to re-audit your application. Check that the fixes you made are still in place. Run your secret scanner again. Test your authentication on every endpoint. Security is not a one-time fix. It is an ongoing practice.
Treating the breach as a one-time event and moving on after patching the immediate vulnerability. Attackers share information. If your app was breached through a common AI-generated vulnerability, other attackers will try the same vector and similar ones. A single patch without a systematic security review leaves you exposed to the next attempt, which often comes within weeks of the first.
The Response Checklist
Here is the compressed version you can reference during an active incident. Print this out or save it somewhere you can access when your production dashboard is on fire.
Detect: Confirm the breach with evidence (logs, database anomalies, billing spikes). Note the earliest suspicious timestamp.
Contain: Rotate all API keys and secrets. Revoke all sessions. Block attacking IPs. Take offline if actively losing data.
Assess: Build the timeline. Identify exposed data. Check for backdoors. Determine the entry point.
Recover: Patch the vulnerability. Redeploy from clean source. Restore from backup. Notify affected users.
Learn: Write the post-mortem. Add missing security layers. Set up better monitoring. Schedule a follow-up audit.
Build security into your AI-coded apps from day one instead of bolting it on after a breach.
See the security survival guideWhat This Means For You
- If you are a founder: A security breach is not the end of your company, but how you respond determines whether users trust you going forward. Speed of containment matters more than perfection. Transparent communication with affected users builds more trust than silence ever could. Keep this playbook accessible, not buried in a bookmark folder, and make sure anyone with production access knows the containment steps.
- If you are a senior developer: You probably recognize these phases from enterprise incident response frameworks. The difference for vibe-coded applications is the entry points. AI-generated vulnerabilities cluster around missing auth middleware, exposed secrets, and unvalidated inputs. Your post-mortem should specifically audit for these AI-specific patterns, because fixing one instance does not mean the AI did not introduce the same vulnerability in three other places.