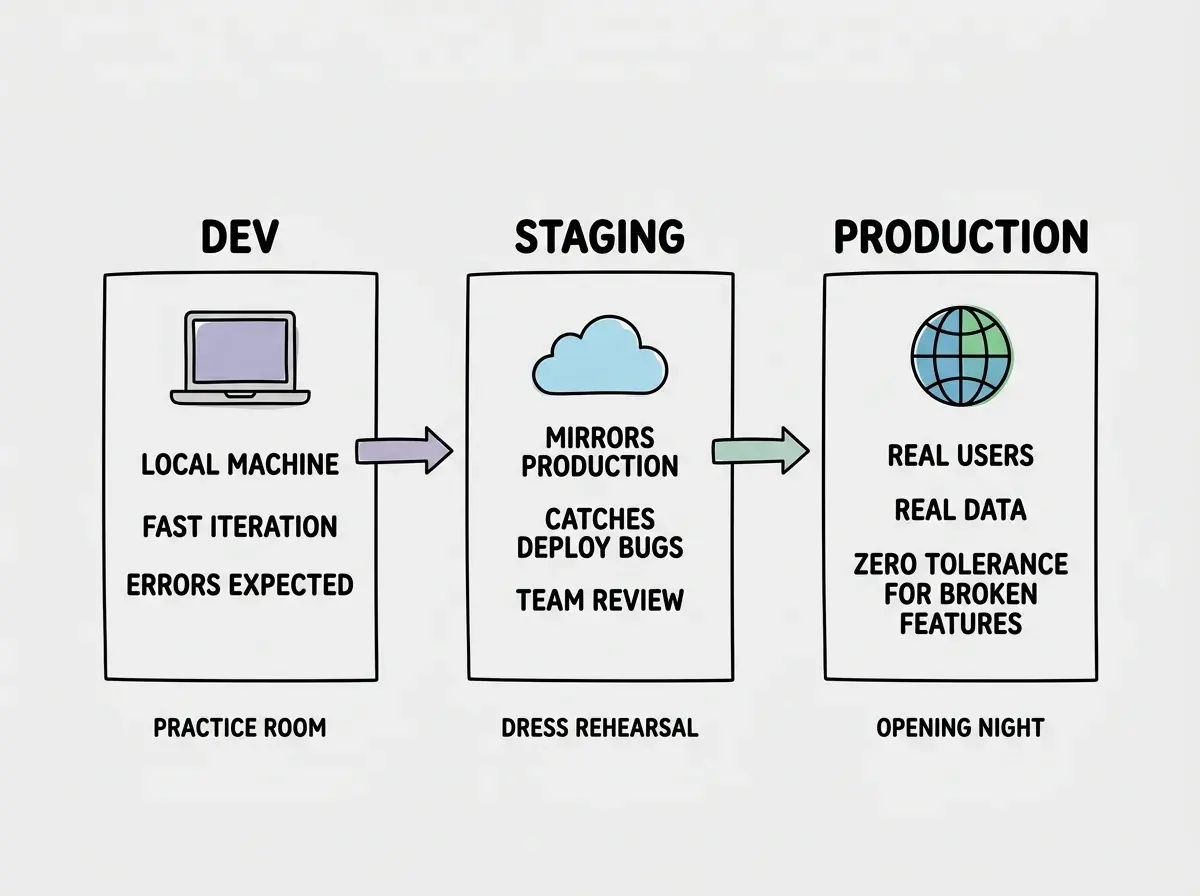
Every app you build needs at least three places to live. Dev is the practice room where you try ideas and break things freely. Staging is the dress rehearsal where you verify everything works under real conditions. Production is opening night, where actual users see your work. Skip any of these, and you are performing without practice in front of a live audience.
92% of developers now use AI coding tools daily, which means more people than ever are shipping apps fast. The problem is that speed without structure leads to a familiar disaster: you push a "quick fix" straight to production, and suddenly your live app is broken for every user while you scramble to undo the change. Separate environments prevent that entirely.
This guide walks through setting up dev, staging, and production environments for a modern web app. You will configure environment-specific variables, set up separate databases, and use preview deployments as your staging layer. Everything here works with Vercel, Cloudflare Pages, or any platform that supports branch-based deploys.
Why Three Environments Exist
Think about what happens when a theater company prepares a new show. Nobody walks onto stage on opening night without weeks of rehearsal. The practice room is where actors learn their lines and experiment with blocking. The dress rehearsal runs the full show under stage lights with costumes and an audience of crew members who give feedback. Opening night is when paying customers fill the seats.
Your app works the same way. Dev (the practice room) is your local machine, where you iterate quickly and errors are expected. Staging (the dress rehearsal) mirrors production as closely as possible, catching bugs that only appear in a deployed environment. Production (opening night) is the real thing, serving real users with real data.
Without this separation, every change you make goes directly from your laptop to your users. That works until it does not. A mistyped environment variable, a database migration that deletes a column, or a new feature that conflicts with an existing one can all take down your live app. The fix is simple: never test in production.
The cost of running separate environments is trivial. Most hosting platforms give you preview deployments for free. Separate database instances on Supabase, PlanetScale, or Neon cost nothing on free tiers. The cost of not having them is a broken production app and users who lose trust.
Setting Up Environment Variables Per Environment
Environment variables are the most common source of cross-environment bugs. Your local .env file has values that work on your machine, but production needs different API keys, database URLs, and feature flags. Mixing them up is how you accidentally send test emails to real users or connect your production app to a development database.
Every hosting platform handles this differently, but the pattern is universal. You define separate sets of variables for each environment.
On Vercel, go to your project settings and navigate to Environment Variables. Each variable gets checkboxes for Production, Preview, and Development. Set your production database URL under Production, your staging database URL under Preview, and your local database URL under Development. Vercel injects the correct set automatically based on which environment the build runs in.
On Cloudflare Pages, you configure environment variables in the dashboard under Settings > Environment Variables. You get two scopes: Production and Preview. Set your production secrets under Production and your staging secrets under Preview. For local development, use a .dev.vars file that Wrangler reads automatically.
# .env.local (for local dev)
DATABASE_URL=postgresql://localhost:5432/myapp_dev
STRIPE_SECRET_KEY=sk_test_development_key
NEXT_PUBLIC_API_URL=http://localhost:3000

# Staging (set in Vercel Preview or Cloudflare Preview)
DATABASE_URL=postgresql://staging-host:5432/myapp_staging
STRIPE_SECRET_KEY=sk_test_staging_key
NEXT_PUBLIC_API_URL=https://staging.myapp.com

# Production (set in Vercel Production or Cloudflare Production)
DATABASE_URL=postgresql://prod-host:5432/myapp_prod
STRIPE_SECRET_KEY=sk_live_real_key
NEXT_PUBLIC_API_URL=https://myapp.com
Never commit real secrets to your repository. The .env.local file belongs in .gitignore. Platform-level environment variables are encrypted and injected at build time or runtime, depending on whether they have the NEXT_PUBLIC_ prefix.
The single most important rule of environment management is that each environment gets its own set of secrets. Your production Stripe key should never appear in your staging environment, and your staging database URL should never appear in production. Platforms like Vercel and Cloudflare make this easy with scoped environment variables. Use them.
One Database Per Environment
This is the rule people skip, and it causes the worst incidents. If your dev, staging, and production environments all point to the same database, a migration you run during development can destroy production data. A test script that clears all users will clear your real users.
Set up three separate database instances. On Supabase, create three projects: myapp-dev, myapp-staging, myapp-prod. On PlanetScale, create three branches or three databases. On Neon, create three projects (their free tier allows this). Each gets its own connection string, its own data, and its own migration history.
# Three separate connection strings, one per environment
# Dev (local or cloud dev instance)
DATABASE_URL=postgresql://user:pass@localhost:5432/myapp_dev

# Staging
DATABASE_URL=postgresql://user:pass@staging.db.supabase.co:5432/myapp_staging

# Production
DATABASE_URL=postgresql://user:pass@prod.db.supabase.co:5432/myapp_prod
When you run database migrations, run them first against your dev database. Verify the changes work. Then run them against staging and test with realistic data. Only after both succeed do you run them against production. This is the dress rehearsal pattern applied to your data layer.
Seed your dev and staging databases with realistic test data. Do not use production data for testing (privacy and compliance reasons), but make your test data close enough that you catch edge cases. A staging database with three users will not reveal the performance issue that appears when production has three thousand.
Preview Deployments as Your Staging Layer
Here is where modern platforms make environment management almost effortless. Both Vercel and Cloudflare Pages automatically create a preview deployment for every pull request or branch push. These preview deployments are your staging environment.
On Vercel, every PR gets a unique URL like myapp-git-feature-branch.vercel.app. This deployment uses your Preview environment variables, which means it connects to your staging database and staging API keys. You can share this URL with teammates for review. When the PR merges, the production deployment runs automatically with production variables.
On Cloudflare Pages, the same pattern applies. Every non-production branch gets deployed to a preview URL like feature-branch.myapp.pages.dev. Preview environment variables are injected, so the build connects to your staging database and staging services.
This workflow replaces the need for a dedicated staging server. Instead of maintaining a separate staging.myapp.com that you have to keep in sync with production, every PR becomes its own isolated staging environment. The dress rehearsal happens on every feature branch, not just once before a release.
# Typical workflow
git checkout -b feature/new-payment-flow
# Build the feature locally against dev database
# Push to GitHub
git push origin feature/new-payment-flow
# Vercel/Cloudflare auto-deploys a preview URL
# Test the preview URL (uses staging env vars)
# Get teammate review on the preview
# Merge PR to main
# Production auto-deploys with production env vars
The beauty of this approach is that you get a fresh staging environment for every feature without any extra infrastructure. Each preview deployment is isolated, disposable, and automatically connected to the right environment variables.

There is one nuance to be aware of. Preview deployments share the same staging database, so two simultaneous PRs with conflicting migrations can interfere with each other. For small teams and solo developers, this rarely matters. For larger teams, consider using database branching (PlanetScale and Neon both support this) so each PR gets its own database branch too.
Handling Secrets and Sensitive Configuration
Beyond database URLs, you will have API keys, webhook secrets, and third-party service credentials that differ per environment. Here is how to manage them without losing your mind.
Create a .env.example file in your repo that lists every variable your app needs, with placeholder values. This serves as documentation for anyone (including future you) setting up the project. For third-party services that use webhooks (Stripe, Clerk, Resend), register separate webhook endpoints for each environment. Stripe lets you configure different webhook URLs for test mode and live mode.
Using the same Stripe webhook secret across dev and staging. When Stripe sends a webhook to your staging preview URL, the signature verification will fail if the secret does not match the endpoint you registered. Each environment needs its own webhook endpoint registered with the service, and each gets its own signing secret. This applies to Clerk, Resend, and any service that sends webhooks to your app.
A Practical Environment Checklist
Before you consider your environment setup complete, verify these items:
- Dev environment runs entirely on your local machine (or a cloud dev instance). It uses test API keys, a local or dev database, and
localhostURLs. Breaking it affects nobody. - Staging environment uses preview deployments with staging-scoped environment variables. It connects to a staging database with realistic test data. Teammates can access preview URLs for review.
- Production environment uses production-scoped variables, a production database with real user data, and your public domain. Changes only reach production through merged PRs that passed staging review.
- No secrets are committed to the repository. Your
.envfiles are in.gitignore, and all real credentials live in your platform's environment variable settings. - Database migrations flow in one direction. Dev first, staging second, production last. Never run untested migrations directly in production.
This setup takes about thirty minutes the first time. After that, every new feature you build follows the same flow automatically: local dev, preview deployment for staging, merge for production. The dress rehearsal happens on every PR.
Now that your environments are set up, pick a project and start building with confidence.
Browse build tutorialsWhat This Means For You
If you are an experienced developer moving faster with AI tools, this structure gives you the safety net that prevents speed from becoming recklessness. You already know the pain of a bad production deploy. Environments are how you keep shipping fast without the 2 AM incident calls.
If you are an indie hacker shipping your own product, this is the professional infrastructure that separates a side project from a real business. Your users do not care how you built the app. They care that it works every time they visit. Separate environments are how you guarantee that reliability while still iterating quickly on new features.
The practice room, the dress rehearsal, the opening night. Set them up once, and every deploy after that feels boring. Boring deploys are the goal.
Make sure your app is production-ready before you set up environments.
Read the deploy checklist