Building an ecommerce storefront requires more than just a beautiful product grid. When money changes hands, your application must handle state securely and reliably. Bolt.new makes it incredibly fast to generate frontend interfaces, but integrating a payment processor like Stripe requires careful architectural planning to prevent tampering and ensure orders are only fulfilled when payment is actually secured.
Retrospective edition for 2026-05-18. Researched and published September 9, 2026. Product details reflect documentation checked at publication unless explicitly identified as historical.
In this walkthrough, we will design a fictional three-product print store called Pixel & Print. We will cover the prompt sequence needed to generate the catalog and cart, establish authoritative pricing on the server, and implement Stripe Checkout in test mode. We will also explore how to verify payments using webhooks rather than relying on the client side success page.
Planning the Architecture for Your Print Storefront
Before writing prompts or code, you must define the boundary between your frontend catalog and secure backend.
Our fictional store sells three items. These are a minimalist poster, a typography print, and a landscape canvas. The frontend generated by Bolt.new will handle the product display, the shopping cart state, and the checkout button. However, the frontend cannot be trusted with pricing data.
According to the official Bolt.new Stripe integration documentation, the integration supports products, checkout, and payment-event handling. This walkthrough chooses Supabase for its example backend; follow the setup path applicable to your selected database. You must choose your database approach (Bolt or Supabase) before initializing the Stripe integration.
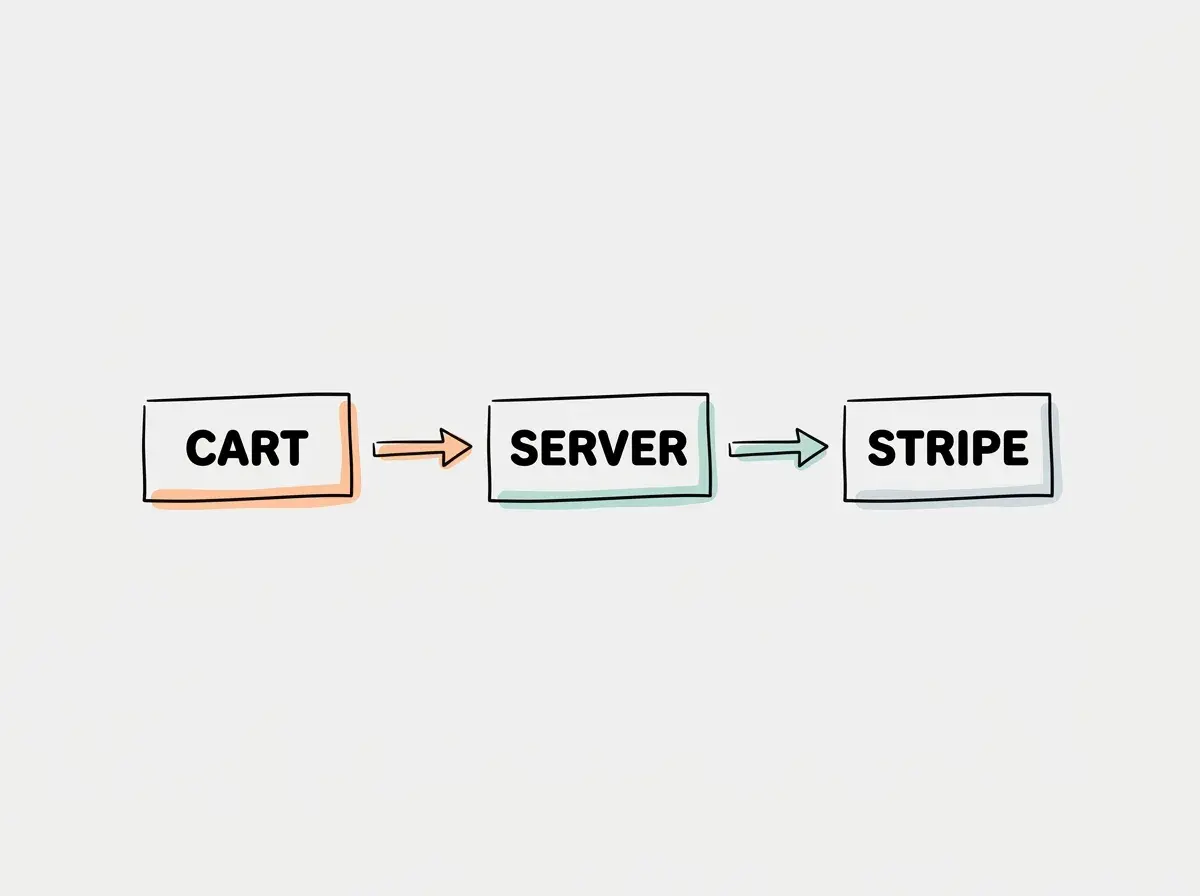
The server will receive a list of product IDs and quantities from the client. It will look up the authoritative prices in the database, calculate the total, and create a Stripe Checkout session. This prevents malicious users from altering the price of the typography print to one cent before clicking checkout.
Generating the Catalog and Cart Interface
Start by prompting Bolt.new to build the visual foundation of your store.
You want to guide the AI to create a clean, responsive layout with a dedicated cart state. A good initial prompt sequence looks like this. First, ask Bolt.new to create a React application with a product catalog displaying three specific art prints, including title, image placeholder, and an add to cart button.
Next, prompt it to implement a sliding cart drawer using React context to manage the state of added items and their quantities. Finally, ask it to add a checkout button inside the cart drawer that calculates the estimated subtotal for display purposes only.
Never pass the client-calculated subtotal to your payment processor. The frontend subtotal is only for user experience. Passing a client-provided price to Stripe allows users to intercept the network request and change the cost of their order.
Once the frontend looks correct, you will notice the checkout button does not actually do anything yet. This is where we bridge the gap between the client and the secure server environment.
Implementing Authoritative Server Pricing
To secure your checkout process, you must move the price calculation to a trusted environment.
When the user clicks checkout, the frontend should send a payload containing only the items they want to buy. The payload should look something like [{ productId: "print_1", quantity: 2 }].
| Feature | Client Pricing | Server Pricing |
|---|---|---|
| Source of Truth | Browser memory or local storage | Secure database lookup |
| Tamper Resistance | None. Easily modified via browser dev tools. | Depends on database permissions and server validation. |
| Maintainability | Displayed values may be stale or tampered with. | Use a trusted catalog and define price-change behavior. |
Your Supabase edge function will receive this array. It will query your database for print_1, discover the price is fifty dollars, multiply it by two, and create a Stripe Checkout session for one hundred dollars. Validate positive integer quantities, allowed products, currency, and any shipping or discount rules before creating the session. The example total is a fictional price calculation, not a complete checkout implementation.
Explore clear explanations of AI coding tools, project context, and reliable development workflows.
Explore the blogIntegrating Stripe Checkout in Test Mode
With your server logic planned, you can now integrate Stripe Checkout.
The Stripe Checkout documentation explains that you should create a Checkout Session on your server and return the session URL to the client. The client then redirects the user to this URL, where Stripe hosts the secure payment form.
During development, you must use Stripe test mode. This ensures you do not spend real money or process actual credit cards. Stripe provides specific test card numbers that simulate different scenarios, such as successful payments, declined cards due to insufficient funds, or expired cards.
Use this implementation prompt after connecting Stripe in test mode:
Create a server-only checkout handler. Accept product identifiers and positive integer quantities. Reject unknown, unavailable, or duplicate items according to a documented policy. Resolve each product to an allowed Stripe Price identifier or a trusted server-side price. Never read price, currency, or product name from the client payload. Create a pending order and a Checkout Session linked by a server-generated order identifier. Keep the Stripe secret key in server secrets, and return only the session URL to the browser.
Review the generated handler before running it. Confirm that the lookup really occurs on the server and that the browser cannot write to the authoritative catalog table. If the application uses database row-level security, verify those policies with an ordinary client session. A server-looking function name is not proof that the execution or data permissions are correct.
When the user completes the test payment, Stripe redirects them to your success URL. However, this redirect is merely a navigation event. It does not guarantee the payment was successfully captured, as users can manually navigate to the success page URL themselves.
Verifying Payments with Webhooks
To safely fulfill an order, you must rely on server-to-server communication.
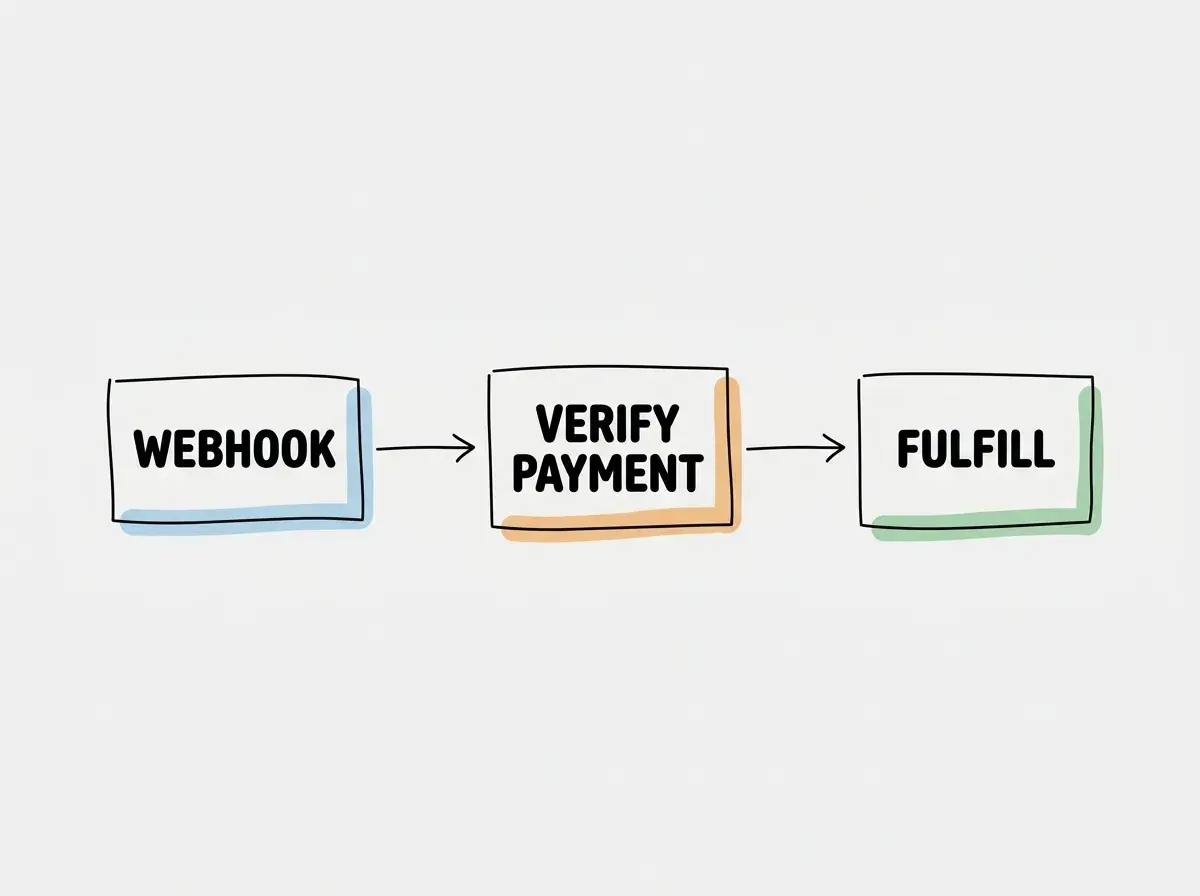
According to the Stripe Webhooks documentation, webhooks are HTTP callbacks that receive notification messages for events. You should configure an endpoint on your server to listen for the checkout.session.completed event. When this event arrives, your server verifies the signature using your Stripe webhook secret to ensure the payload actually came from Stripe.
The client-side success page is not proof of payment. Always use verified webhooks to update order status and trigger fulfillment processes like shipping or digital delivery.
Signature verification establishes event authenticity, not whether an order is paid or already fulfilled. Follow the Stripe fulfillment guide: inspect the Checkout Session payment status and account for delayed payment methods before fulfillment.
The order workflow should distinguish pending payment, confirmed payment, and completed fulfillment. Process authentic events using the raw request body and endpoint-specific signing secret. Match the session to the expected order and verify the amount and currency. For delayed methods, handle the relevant asynchronous success or failure event instead of treating every completed session as paid.
Use a database transaction or atomic state transition to claim fulfillment once. Store a unique event or session identifier, and make the fulfillment operation itself idempotent. Persist a durable job before acknowledging processing when shipping or delivery happens asynchronously. This prevents a crash between updating the order and dispatching fulfillment from silently losing an order.
A simple read-then-write check is insufficient for duplicate events arriving concurrently. Two workers could both see a pending order. Test the atomic claim and retry behavior explicitly, including a failure after payment is recorded but before fulfillment completes.
Testing Edge Cases and Cart Tampering
Before considering your store complete, you must actively try to break it.
Start by testing cart tampering. Intercept the network request leaving your Bolt.new frontend and change the product ID to something that does not exist, or alter the quantity to a negative number. Your server logic must catch these anomalies, reject the request, and refuse to create a Stripe session.
Next, use Stripe test cards to simulate a declined authorization. Ensure your application gracefully handles the failure, returning the user to the checkout page with a helpful error message rather than crashing or showing a generic server error.
Finally, test canceled checkouts. Click the checkout button, arrive at the Stripe hosted page, and click the back button. Verify that your application restores the user cart state correctly so they do not have to rebuild their order from scratch.
Keep a Reviewable Test Record
Run the complete purchase flow with dummy customer data and Stripe’s documented test payment details. Record the cart contents, pending order identifier, Checkout Session identifier, payment status, event identifier, and final fulfillment state. Do not record secret keys or sensitive payment data. The purpose is to follow one order across the browser, application server, and payment provider without guessing which event changed its state.
Repeat the event delivery and confirm that only one fulfillment job exists. Then simulate an application restart between recording the payment and completing fulfillment. The order should remain recoverable through the durable job or reconciliation process. A successful happy-path payment does not exercise either of these failure cases.
Finally, visit the success URL directly without paying. It should show an appropriate pending or unavailable state after a server check, and it must not create a paid order. Keep the same checks when switching from test configuration to live configuration, using the provider’s documented launch process. A change of keys should not be an opportunity to bypass the validation that made the test flow trustworthy.
Beyond the Basics for Production Stores
While our fictional three-product store demonstrates the core checkout flow, real-world operations require additional considerations.
Product integration does not ensure full shop operations. You must handle inventory management to prevent overselling. If two users try to buy the last canvas print at the same time, your database must lock the row or handle the race condition gracefully.
You must also calculate shipping costs based on user location and handle tax collection requirements. Refunds add another layer of complexity, requiring you to map Stripe refund events back to your order state machine. Note that tax and shipping regulations vary wildly by jurisdiction, and you must consult appropriate professionals to ensure your store complies with local laws.
What This Means for You
Building a storefront with Bolt.new allows you to iterate on your design rapidly, but the responsibility of securing the transaction remains yours. By separating your frontend presentation from your backend pricing logic, utilizing Stripe test mode thoroughly, and verifying payment server-side and using a reliable webhook-driven fulfillment workflow, you can build a robust ecommerce experience.
Take the time to map out your order state machine and test every edge case. A beautiful catalog is only as good as the secure, reliable checkout process that supports it.
Read more practical articles for choosing tools, reviewing changes, and shipping useful software.
Read more guides