A perfect coding prompt is not about length or cleverness. It is about giving the AI exactly the information it needs to produce code you can actually use. Every great prompt shares three elements: structure (what you want built), context (what already exists), and constraints (what the boundaries are). When any one of these is missing, the output suffers in predictable ways.
This tutorial breaks down those three pillars with real before-and-after examples so you can see exactly how each element changes what the AI produces. By the end, you will be able to look at any prompt and instantly identify what is missing and how to fix it.
The Three Pillars of a Perfect Prompt
Think of a coding prompt as a blueprint. An architect does not just write "build a house" on a napkin and hand it to a contractor. They provide the layout (structure), the site survey and neighboring buildings (context), and the building codes and budget (constraints). Your prompts work the same way.
Structure answers "what do you want built?" There is a difference between structural clarity and vague intent. "Build a form" is vague intent. "Build a multi-step registration form with three steps: personal info, company details, and plan selection" is structural clarity. Structure tells the AI what the finished product looks like.
Context answers "what already exists?" This is the element most people skip, and it causes the most wasted iterations. When you tell the AI about your codebase, tech stack, and design patterns, it generates code that fits seamlessly into what you have built. Without context, the AI generates code in a vacuum that rarely fits your project.
Constraints answer "what are the boundaries?" Constraints prevent unwanted choices. "Do not add any new dependencies." "Keep the component under 80 lines." "Use only the colors defined in our Tailwind config." Every missing constraint is a dimension where the AI will make its own choice.
Structure tells the AI what to build. Context tells it how the new code fits into what exists. Constraints tell it what not to do. Missing any one of these three pillars forces the AI to guess, and each guess is a chance to produce something you cannot use.
How Structure Changes Everything
Let me show you the difference structure makes with a real example. Say you need a navigation component for your web application.
Without structure: "Create a navbar component."
The AI generates a generic horizontal nav with placeholder links (Home, About, Services, Contact), basic responsive handling, and whatever styling it prefers. It is technically a navbar, but it is nobody's navbar.
With structure: "Create a responsive navigation bar for a SaaS dashboard. Company logo on the left, links for Dashboard, Projects, Team, and Settings in the center, user avatar with a dropdown (Profile, Preferences, Sign Out) on the right. On mobile, center links collapse into a hamburger menu."
Now the AI knows what elements to include, where they go, and how the component behaves at different screen sizes. Structural clarity means specifying the components, their arrangement, and their behavior, not just a category label.
How Context Changes Everything
Context is where the biggest quality jump happens because it is the element most people leave out entirely. Watch what happens when you add context to a prompt.
Without context: "Create a user profile card component."
The AI picks a random styling approach, chooses its own color palette, picks whatever data structure it wants, and generates something that looks fine in isolation but clashes with everything else in your project.
With context: "Create a user profile card component for my Next.js 14 app. We use Tailwind CSS with custom design tokens (primary-600 for accent, gray-50 for backgrounds, rounded-xl for cards). The user data comes from our useUser() hook which returns { name, email, avatarUrl, role, joinedAt }. Match the style of our existing TeamCard component (white background, subtle border, small shadow on hover)."
Now the AI generates code that uses your existing hook, follows your design patterns, and fits your tech stack. You can drop this component into your project and it belongs there. The context that matters most: your tech stack, existing data shapes and hooks, design system patterns, and similar existing components.

How Constraints Change Everything
Constraints are the guardrails that keep the AI on your road. They are especially important when you have strong opinions about code quality, performance, or maintainability.
Without constraints: "Build a data table component that displays user records."
The AI might install a heavy table library, add sorting and filtering and pagination all at once, and create a 300-line component that does everything but is impossible to maintain.
With constraints: "Build a data table component that displays user records. No external table libraries, just native HTML table elements styled with Tailwind. Support sorting by clicking column headers but do not add filtering or pagination yet. Keep the component under 100 lines. Use TypeScript generics so the table can accept any data shape."
Instead of an over-engineered monster, you get a focused component that does exactly what you need. Common constraints that improve output: dependency restrictions, size limits, pattern enforcement ("use server components, not client"), and scope limits ("only implement X, not Y or Z").
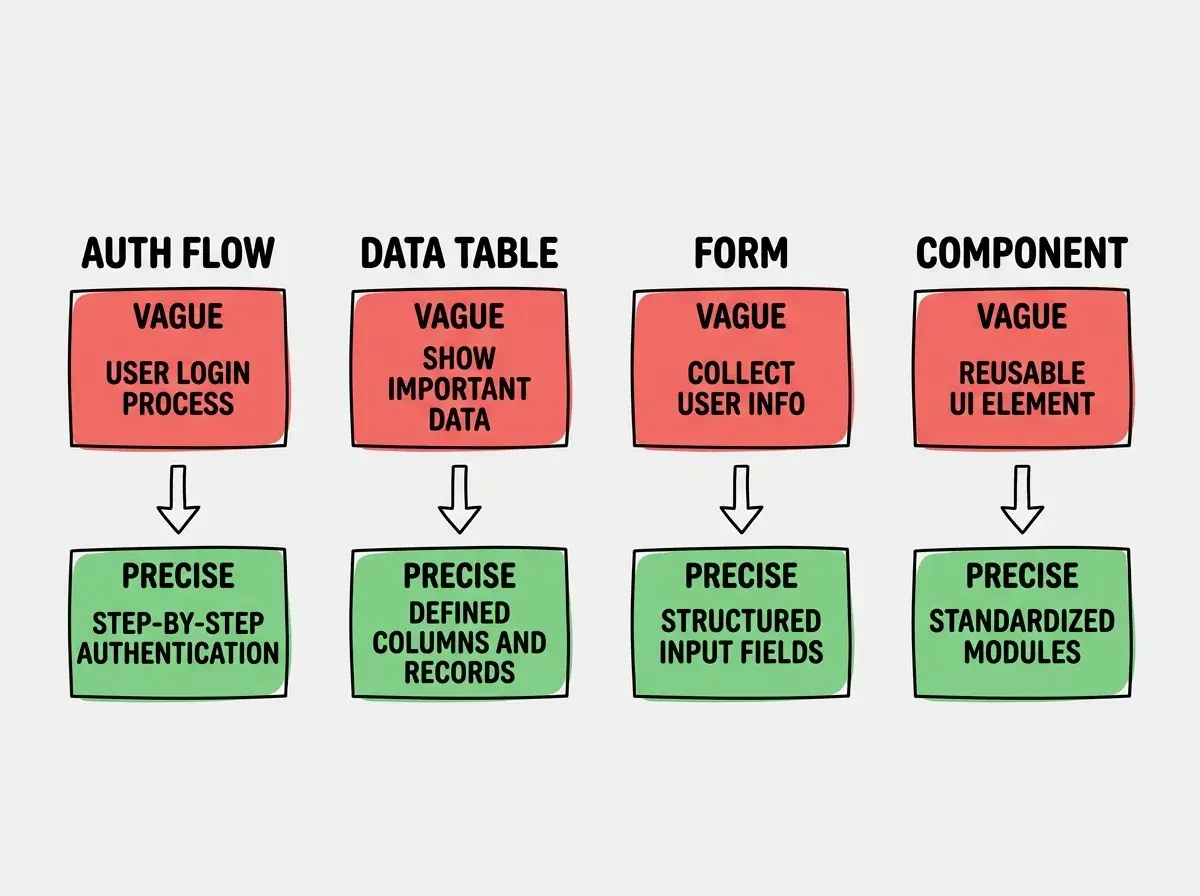
Four Real Transformations
Here are two complete transformations that show all three pillars working together.
Authentication Flow
Before: "Add login functionality to my app."
After: "Add an email/password login page to my Next.js app using NextAuth.js with the Credentials provider. The page should have email and password fields with Zod validation, a submit button with a loading state, and error messages for invalid credentials. Redirect to /dashboard on success. Style it with Tailwind CSS matching our existing auth pages (centered card layout, max-w-md, white background, rounded-xl). Do not add social login providers yet."
The before prompt could produce anything from a Firebase setup to a raw JWT implementation. The after prompt produces exactly one thing, and it is the right thing. Notice how it includes all three pillars: structure (the specific page and fields), context (Next.js, NextAuth, Tailwind, existing auth pages), and constraints (no social providers).
Providing structure and constraints but forgetting context. You end up with well-scoped code that uses the wrong framework, wrong patterns, or wrong data shapes for your project. Always mention your tech stack, relevant existing code, and design patterns. The AI does not remember your project from previous conversations.
React Component
Before: "Make a pricing component."
After: "Create a PricingSection component for our marketing page using React and Tailwind CSS. Display three plan cards: Starter at $9/month, Pro at $29/month (highlighted as most popular with a blue border and badge), and Enterprise at custom pricing with a 'Contact us' button. Each card lists 4-5 features with checkmark icons. Include a monthly/annual toggle showing a 20% discount for annual billing. Use the same card style as our FeatureCard component (rounded-xl, shadow-sm, p-6)."
This prompt gives the AI a complete mental picture, tells it exactly which plan is highlighted, specifies the interaction, and anchors it to existing design patterns.
The 30-Second Prompt Check
Before you send any coding prompt, run this quick check. Can the AI identify exactly what component, page, or feature you want? That is structure. Does the AI know your tech stack, existing patterns, and relevant data shapes? That is context. Does the AI know what you do not want and what scope boundaries exist? Those are constraints.
If you can answer yes to all three, your prompt is ready. If any answer is no, add that information before sending. This check takes 30 seconds and saves five to fifteen minutes of iteration. After a few dozen prompts, the habit becomes automatic.
Go deeper with the complete STRUCTURE framework and advanced techniques.
Read the masterclassWhat This Means For You
Writing better prompts is about thinking clearly about what you want before you ask for it. The three pillars give you a simple mental model that works for any coding task.
- If you are a founder building your product: Every prompt is a product decision. Start by adding just one missing pillar to your next prompt. If you usually skip context, mention your tech stack and an existing component to match. That single change will immediately improve your results.
- If you are a career changer: The three pillars map to skills you already have. Structure is project scoping. Context is stakeholder management. Constraints are budget and timeline management. Apply them to your prompts and you will write better ones than most developers from day one.
- If you are a student: Write the vague version of every prompt first, then deliberately add structure, context, and constraints before sending. Comparing the outputs will teach you more in a week than reading about prompt engineering for a month.
Compare vague and precise prompts side by side with actual output differences.
View examples