A great AI coding prompt has four parts that most beginners miss: context, specifics, behavior, and constraints. When you include all four, the AI produces working code on the first try instead of sending you into frustrating loops of "no, that is not what I meant." Prompt crafting is the single most practice-dependent skill in vibe coding, and this guide breaks down exactly how to get better at it.
The difference between someone who loves vibe coding and someone who quits in frustration is almost always prompt quality. Not intelligence, not technical background, not the tool they chose. The prompts.
Why Prompts Are the Skill That Changes Everything
Prompt crafting is to vibe coding what steering is to driving. You can have the fastest car in the world, but if you cannot steer, you are going to crash into things. Every AI coding tool, from Lovable to Cursor to Replit, is powered by the same fundamental interaction: you describe what you want in words, and the AI translates those words into code.
The AI is not reading your mind. It is reading your words, interpreting them as literally as a very talented, very eager intern who does exactly what you say instead of what you mean. Tell that intern "make it look nice" and you will get their interpretation of nice. Tell them "use a white background, 16px Inter font, and 24px of padding" and you will get exactly that.
Prompt crafting is the number one skill that improves with practice. The gap between a first-day prompt and a thirty-day prompt is enormous. This article shortens that learning curve by showing you the anatomy of prompts that work.
Prompt quality is the number one practice-dependent skill in vibe coding. You cannot learn it from reading alone. But you can dramatically accelerate your learning by understanding the four-part structure that separates prompts that produce working code from prompts that produce confusion. Think of this article as the driving theory before your road test.
The good news is that this skill transfers across every AI coding tool. Learn to write great prompts in Lovable, and those same prompts will work in Cursor, Bolt, or any tool that launches next year. The interface changes; the skill of clear communication does not.
The Anatomy of a Prompt That Works
Think of a great prompt like a blueprint you hand to a contractor. A bad blueprint says "build me a house." A good blueprint specifies the number of rooms, the layout, the materials, and the style. The contractor (your AI) is skilled enough to build anything, but they need clear instructions to build what you actually want.
Every effective AI coding prompt has four layers. You do not need to include all four in every single message, but your initial prompt for a new feature or project should hit all of them.
Layer 1: Context (What is the big picture?)
Tell the AI what you are building and why. "I am building a personal finance tracker for people who want to see their monthly spending at a glance." This single sentence eliminates hundreds of ambiguous decisions. The AI now knows the domain (finance), the scope (personal, not enterprise), and the primary use case (monthly overview, not daily tracking).
Without context, the AI guesses. And its guesses might be perfectly reasonable but completely wrong for your situation.
Layer 2: Specifics (What exactly should this piece do?)
Describe the concrete deliverable. "Create a dashboard page with a bar chart showing spending by category for the current month. Categories should include Food, Transport, Housing, Entertainment, and Other." This removes ambiguity about what "dashboard" means. The AI is not choosing between a table, a chart, a list, or a summary card. You told it: bar chart, five categories, current month.
Layer 3: Behavior (What happens when users interact?)
Describe the interactions. "When a user clicks on a bar in the chart, show a detailed list of transactions in that category below the chart. When they click a different bar, the list updates. When they click the same bar again, the list collapses." This is the layer most beginners forget entirely. They describe what something looks like but not what it does. The AI will fill in behavior on its own if you do not specify it, and those assumptions rarely match what you wanted.
Layer 4: Constraints (What should the AI avoid or follow?)
Set boundaries. "Use Tailwind CSS for styling. Do not use any external charting library; build the bar chart with simple div elements. Keep the color palette to blue and gray tones. Make it responsive so it works on mobile." Constraints prevent the AI from making choices you will need to undo later. They are especially valuable for design consistency and technical preferences.
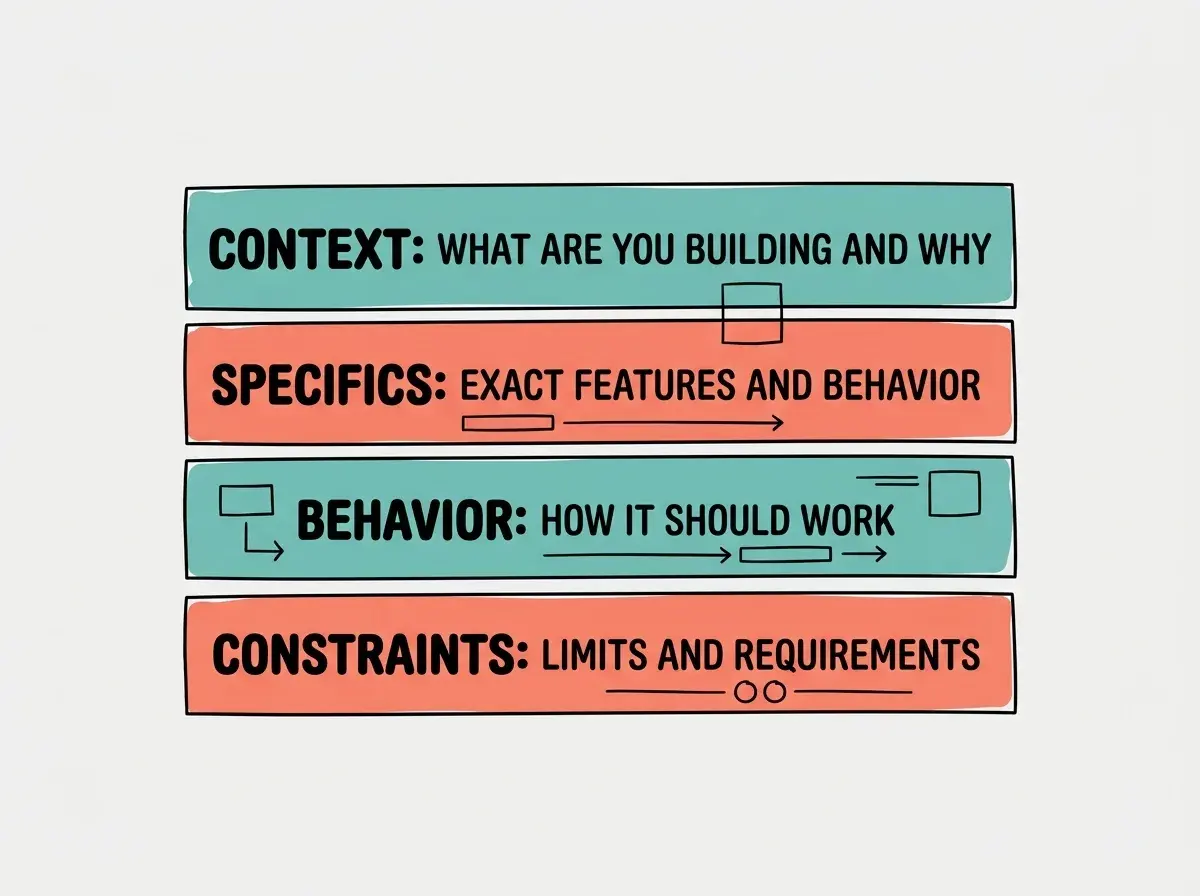
You do not need to label these sections in your actual prompt. They can flow naturally as a paragraph or a bulleted list. The structure is a mental checklist, not a rigid format.
Real Prompts That Show the Difference
Let me show you the same request written two ways so you can feel the difference.
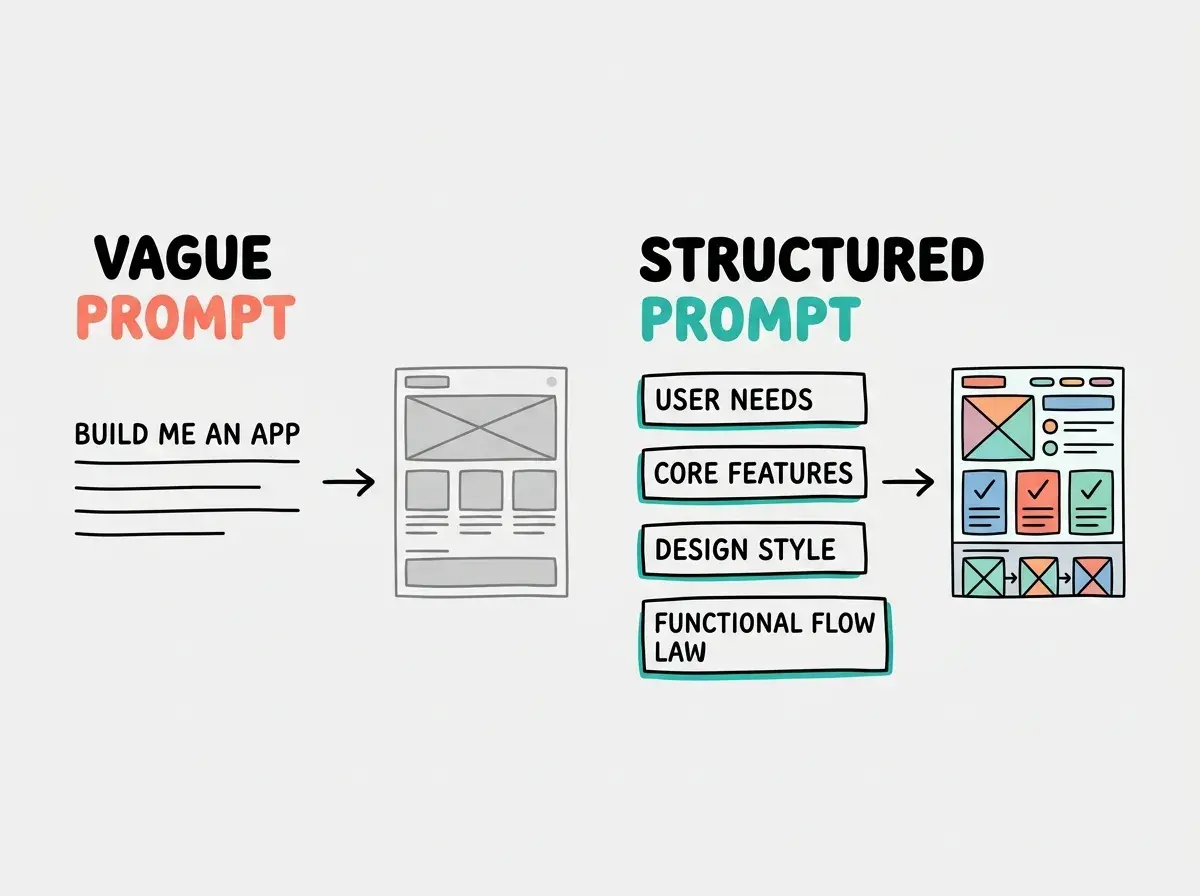
The vague prompt: "Make a contact form for my website."
The AI will build something. But it will make dozens of decisions for you: how many fields, what labels, what happens on submit, what color the button is. You will spend ten minutes saying "no, change that" over and over.
The four-layer prompt: "I am building a portfolio website for a freelance photographer (context). Add a contact form with three fields: Name, Email, and Message. The Message field should be a larger text area (specifics). When the user clicks Send, show a green success message that says 'Thanks! I will reply within 24 hours' and clear the form. If any field is empty, highlight it in red (behavior). Use rounded corners on all inputs, a black Send button with white text, and keep the form under 500 pixels wide (constraints)."
The second prompt takes sixty seconds longer to write and saves ten minutes of revisions. That math only improves as projects get more complex.
Master the fundamental skills that make AI tools work for you, not against you.
Start with the basicsThe Refinement Loop That Makes It Better
Your first prompt gets you about 70% of the way there. The remaining 30% comes through refinement prompts, which are shorter and more targeted because the AI already has context.
Good refinement prompts are specific about what to change. "The bar chart looks good but the bars are too thin. Make them wider and add the dollar amount as a label above each bar." That works because it identifies the problem, states the fix, and adds a related improvement.
Bad refinement prompts are vague restatements. "Make it look better" or "that is not quite right" give the AI nothing to work with. It will change things, but randomly, and you will end up further from your goal.
A useful pattern for refinement is "keep, change, add." Tell the AI what to keep (so it does not accidentally remove things you like), what to change, and what to add. "Keep the layout and colors. Change the font to something bolder. Add a subtitle below the main heading."
Writing one enormous prompt that tries to describe an entire application at once. AI models have context limits, and even within those limits, they perform best when focusing on one feature at a time. Build in layers: start with the layout, then add one component, then add behavior, then refine the design. Five focused prompts will always produce better results than one gigantic prompt, even if they describe the same total scope.
The refinement loop is where your skills improve fastest. Each refinement teaches you something about how the AI interprets your words. After twenty or thirty refinements, you start writing initial prompts that need far fewer corrections.
Prompt Templates You Can Copy Right Now
Here are three templates you can use immediately. Adapt the details to your project; the structure stays the same.
For a new page or screen: "I am building [app type] for [audience]. Create a [page name] page with [list the main elements]. When [interaction], [what should happen]. Use [design constraints]."
For adding a feature: "The current [page/component] needs [feature name]. It should [describe the behavior]. Place it [where in the interface]. Match the existing [design element] for consistency."
For fixing something: "On the [page name], the [element] is [describe the problem]. I expected [what should happen]. Instead, [what actually happens]. Fix this while keeping [specify what should not change]."
These templates are training wheels. Use them for your first ten prompts, then you will naturally write structured prompts without thinking about it.
Dig deeper
A few hand-picked sources if you want to go further.
What This Means For You
Prompt crafting is the one skill that makes every other part of vibe coding easier. Invest in it early, practice it deliberately, and your productivity with any AI tool will compound over time.
- If you are a founder building a product: Good prompts translate directly into faster prototyping. When you can describe a feature clearly enough for an AI to build it correctly on the first try, your iteration speed doubles. This is a competitive advantage: while other founders are stuck in revision loops, you are shipping. The four-layer structure is also useful when writing specs for developers or design briefs for contractors.
- If you are a career changer learning vibe coding: Prompt crafting is a portable, demonstrable skill. In interviews, being able to describe what happened (and why) when you told an AI to build something shows communication ability, technical awareness, and problem-solving instincts. Keep a journal of your prompts and the results they produce. That journal becomes both a learning tool and a portfolio piece.
- If you are a student exploring AI tools: Start treating every assignment as a prompt-crafting exercise. Describe what you need in writing before you touch any tool. This habit builds clarity of thought that will serve you in every career path, not just technical ones. The students who learn to communicate precisely with AI tools now will have a significant advantage in any field within five years.
Apply these prompt techniques in your next vibe coding session.
Start building